Interlocking pavers are a popular choice for driveways, patios, walkways, and other outdoor spaces due to their durability, versatility, and aesthetic appeal. Whether you are looking to enhance the curb appeal of your home or create a functional and stylish outdoor living space, interlocking pavers are a great option. In this article, we will discuss the benefits of interlocking pavers, the installation process, and maintenance tips to keep them looking their best for years to come.
Benefits of Interlocking Pavers:

1. Durability: Interlocking pavers are made from strong materials such as concrete, clay, or natural stone, making them resistant to cracking, fading, and wear and tear. They can withstand heavy foot traffic, vehicle traffic, and harsh weather conditions, making them a long-lasting choice for outdoor spaces.
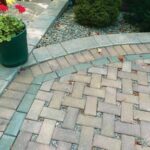
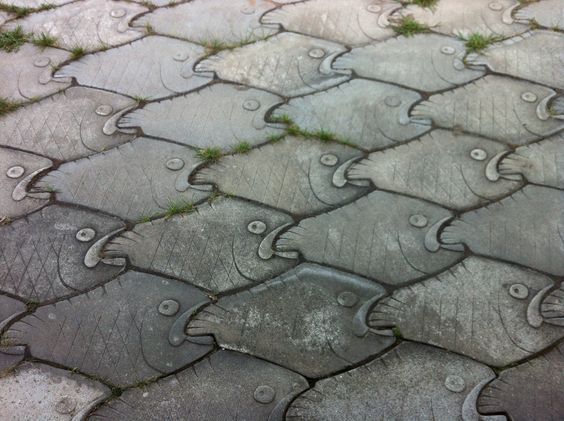
2. Versatility: Interlocking pavers come in a variety of shapes, sizes, colors, and patterns, allowing you to create a unique design that complements your home and landscaping. Whether you prefer a traditional brick look or a contemporary cobblestone design, interlocking pavers can be customized to suit your style.
3. Easy Installation: Interlocking pavers are easy to install, as they can be laid directly over a bed of sand or gravel without the need for mortar. This makes them a quick and cost-effective option for updating your outdoor space. Additionally, interlocking pavers can be easily replaced if they become damaged or stained.
4. Low Maintenance: Interlocking pavers require minimal maintenance to keep them looking their best. Regular sweeping and occasional pressure washing can help remove dirt, debris, and stains. Additionally, sealing the pavers every few years can protect them from fading, staining, and water damage.
Installation Process:
1. Prepare the site: Start by clearing the area of any existing pavement, vegetation, or debris. Excavate the site to the desired depth, ensuring proper drainage and a stable base.
2. Lay the base: Add a layer of gravel or crushed stone to the excavated area and compact it to create a sturdy base for the pavers.
3. Install the edge restraints: Use plastic or metal edge restraints to define the perimeter of the installation area and prevent the pavers from shifting.
4. Lay the pavers: Start at one corner of the area and work in rows, interlocking the pavers as you go. Use a rubber mallet to gently tap the pavers into place and ensure they are level.
5. Fill the joints: Once all the pavers are in place, fill the joints with sand or polymeric sand and use a broom to sweep it into the gaps. This will help lock the pavers in place and prevent weeds from growing between them.
Maintenance Tips:
1. Regularly sweep the pavers to remove dirt, debris, and leaves that can stain or damage them.
2. Use a pressure washer to clean the pavers and remove stubborn stains or buildup. Be sure to use a gentle setting to avoid damaging the pavers.
3. Apply a sealer every few years to protect the pavers from fading, staining, and water damage. This will also enhance the color and shine of the pavers.
In conclusion, interlocking pavers offer numerous benefits for outdoor spaces, including durability, versatility, easy installation, and low maintenance. By following the installation process and maintenance tips outlined in this article, you can enjoy a beautiful and functional outdoor space that will enhance the value and enjoyment of your home for years to come.