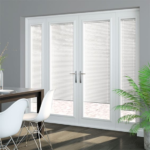
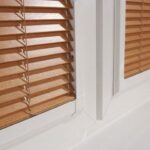
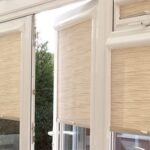
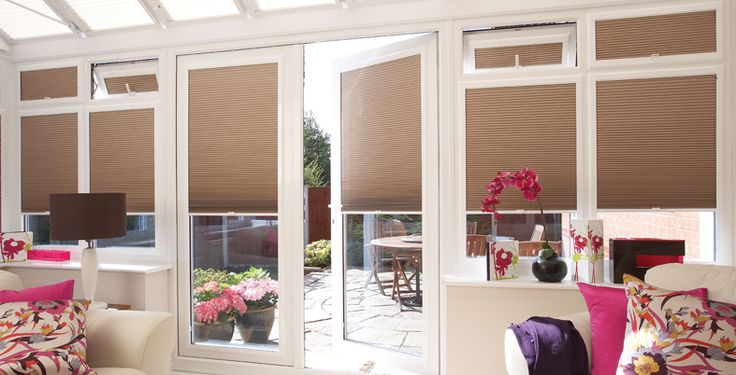
Blinds are a popular window treatment option due to their functionality and aesthetic appeal. Whether you are looking to enhance the privacy and light control in your space, or simply add a touch of style and sophistication to your home, fit blinds are a versatile and practical choice. However, it is essential to measure and install fit blinds correctly to ensure they function seamlessly and look their best. Here are some tips on how to measure and install fit blinds correctly:
Measuring for Fit Blinds:

1. Measure the width: Start by measuring the width of your window at three different points – the top, middle, and bottom. Use the smallest measurement as your reference point to ensure a snug fit. If your window has a recess, make sure to subtract any deductions required by the manufacturer to ensure the blinds fit properly.
2. Measure the drop: Next, measure the drop of your window at three different points – the left, center, and right. Again, use the smallest measurement as your reference point and subtract any deductions required. This will ensure that the blind hangs evenly and does not interfere with any obstructions, such as window handles or tiles.
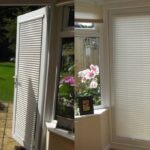
3. Check for obstructions: Before ordering your blinds, make sure to check for any obstructions, such as handles, locks, or tiles, that may affect the installation or operation of the blinds. If necessary, consider ordering blinds with special cut-outs or extensions to accommodate these obstructions.
Installing Fit Blinds:
1. Gather your tools: Before you begin installation, make sure you have all the necessary tools on hand, such as a drill, screws, screwdriver, and a measuring tape. It’s also helpful to have a level to ensure the blinds are installed straight and level.
2. Install the brackets: Start by installing the brackets that will hold the blinds in place. Use a measuring tape to ensure the brackets are evenly spaced and aligned with the measurements you took earlier. Use a level to ensure the brackets are straight and secure them in place using screws.
3. Attach the blind: Once the brackets are in place, carefully attach the blind to the brackets, making sure it is evenly centered and level. Most fit blinds come with a wand or cord for operation – make sure this is securely attached and functions properly.
4. Test the blind: Before finishing the installation, make sure to test the blind to ensure it operates smoothly and functions as intended. Adjust the blind to your desired height and angle, and make any necessary adjustments before securing the blind in place.
By following these tips on how to measure and install fit blinds correctly, you can ensure that your blinds fit perfectly and function seamlessly. With the right tools and a little patience, you can transform your windows with stylish and functional fit blinds that enhance the look and feel of your home.