Garden stepping stones are a great addition to any outdoor space, adding both practicality and visual appeal to your garden. They can help create a pathway through your garden, define different areas, or simply add a decorative touch to your landscape. If you’re considering adding stepping stones to your garden, read on for our ultimate guide to choosing and installing garden stepping stones.
Choosing the Right Stepping Stones When choosing garden stepping stones, there are a few factors to consider. First and foremost, you’ll want to consider the style and aesthetic of your garden. Stepping stones come in a variety of shapes, sizes, colors, and materials, so be sure to choose ones that complement the overall look of your outdoor space.

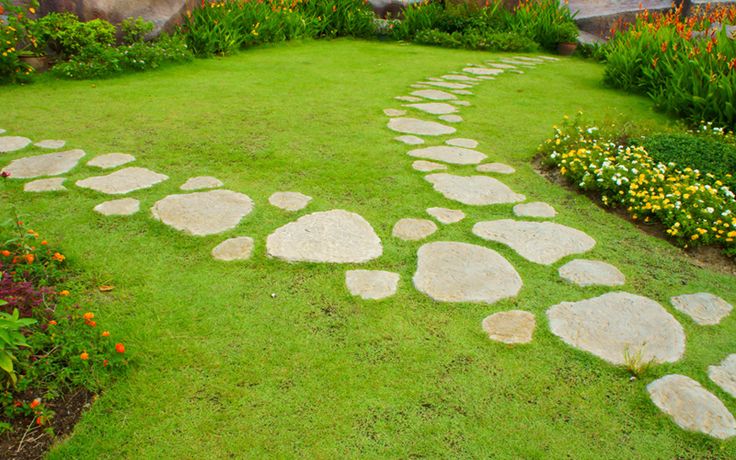
Another thing to consider is the purpose of the stepping stones. Are you looking to create a clear pathway through your garden, or simply add a decorative touch? If you’re looking to create a pathway, you’ll want to choose a more uniform shape and size for your stepping stones. If you’re looking for a more decorative touch, you can get creative with different shapes, colors, and materials.
In terms of materials, there are a few options to choose from. Popular materials for stepping stones include concrete, natural stone, and pavers. Concrete stepping stones are durable and versatile, while natural stone stepping stones can add a rustic and organic look to your garden. Pavers are another great option, offering a wide range of colors and patterns.
Installing Garden Stepping Stones Once you’ve chosen the right stepping stones for your garden, it’s time to install them. Here’s a step-by-step guide to installing garden stepping stones:
1. Plan your pathway: Before installing your stepping stones, plan out the pathway and layout of your stones. You can use string, stakes, or marking paint to outline the path.
2. Prepare the area: Clear the area where you’ll be installing the stepping stones, removing any grass, weeds, or debris. You may need to excavate the area slightly to create a level surface for the stones.
3. Lay the stepping stones: Start by placing the first stepping stone at one end of the path. Use a level to ensure that the stone is flat and level. Continue laying the stones in a straight line or in a pattern of your choice.
4. Fill in the gaps: Once all of the stepping stones are in place, fill in the gaps between the stones with sand, gravel, or mulch. This will help stabilize the stones and prevent them from shifting.
5. Secure the stones: To ensure that the stepping stones stay in place, you can use concrete adhesive or landscape adhesive to secure them to the ground. This can help prevent the stones from wobbling or shifting over time.
6. Enjoy your new pathway: Once the stepping stones are installed, sit back and enjoy your new garden pathway. You can enhance the look of your stepping stones with plants, flowers, or outdoor lighting to create a truly stunning outdoor space.
In conclusion, garden stepping stones are a versatile and practical addition to any outdoor space. By choosing the right stepping stones and following the proper installation steps, you can create a beautiful and functional pathway through your garden. So why wait? Start planning your garden stepping stone project today and transform your outdoor space into a true oasis.